
Introduction: The Fun of a DIY Obstacle Course Challenge
Creating a DIY obstacle course in your backyard is a fantastic way to bring excitement, challenge, and physical activity right to your doorstep. Whether you’re planning a weekend adventure for the kids or a fun competition for friends and family, designing your own course adds a personal touch that store-bought kits simply can’t match. It’s a playful project that combines creativity with movement, encouraging everyone to push their limits while enjoying the fresh air.
This guide will walk you through the steps of planning, building, and hosting an obstacle course that suits your space and skill level. From picking the perfect spot to the final race, you’ll find practical advice to make your backyard challenge a memorable experience for all participants.
Choosing the Right Location in Your Backyard
Assessing Space and Terrain
Before diving into building, it’s essential to evaluate the area you have available. Take a good look at your backyard and think about how much room you want to dedicate to the obstacle course. The size and shape of your space will influence the layout, number of obstacles, and the type of challenges you can include. Uneven terrain can add a natural element to the course but may require some leveling or adjustments to ensure safety.
Consider any existing features like trees, garden beds, or slopes that could either enhance the challenge or pose obstacles of their own. The goal is to utilize your space creatively while keeping the course fluid and navigable.
Safety Considerations
Safety should always come first. Check the ground for rocks, roots, or anything that could cause trips and falls. If your course involves climbing or jumping, make sure there’s enough cushioning underneath, such as grass, mulch, or mats. Also, avoid placing obstacles near fences, sharp edges, or hard surfaces. Proper lighting is another essential factor if you plan to use the course in the evening.
Additionally, think about how to keep the course accessible for all participants. Clear walkways and stable footing are vital to prevent injuries while ensuring everyone can enjoy the challenge confidently.
Designing Your Course Layout
Incorporating Variety in Obstacles
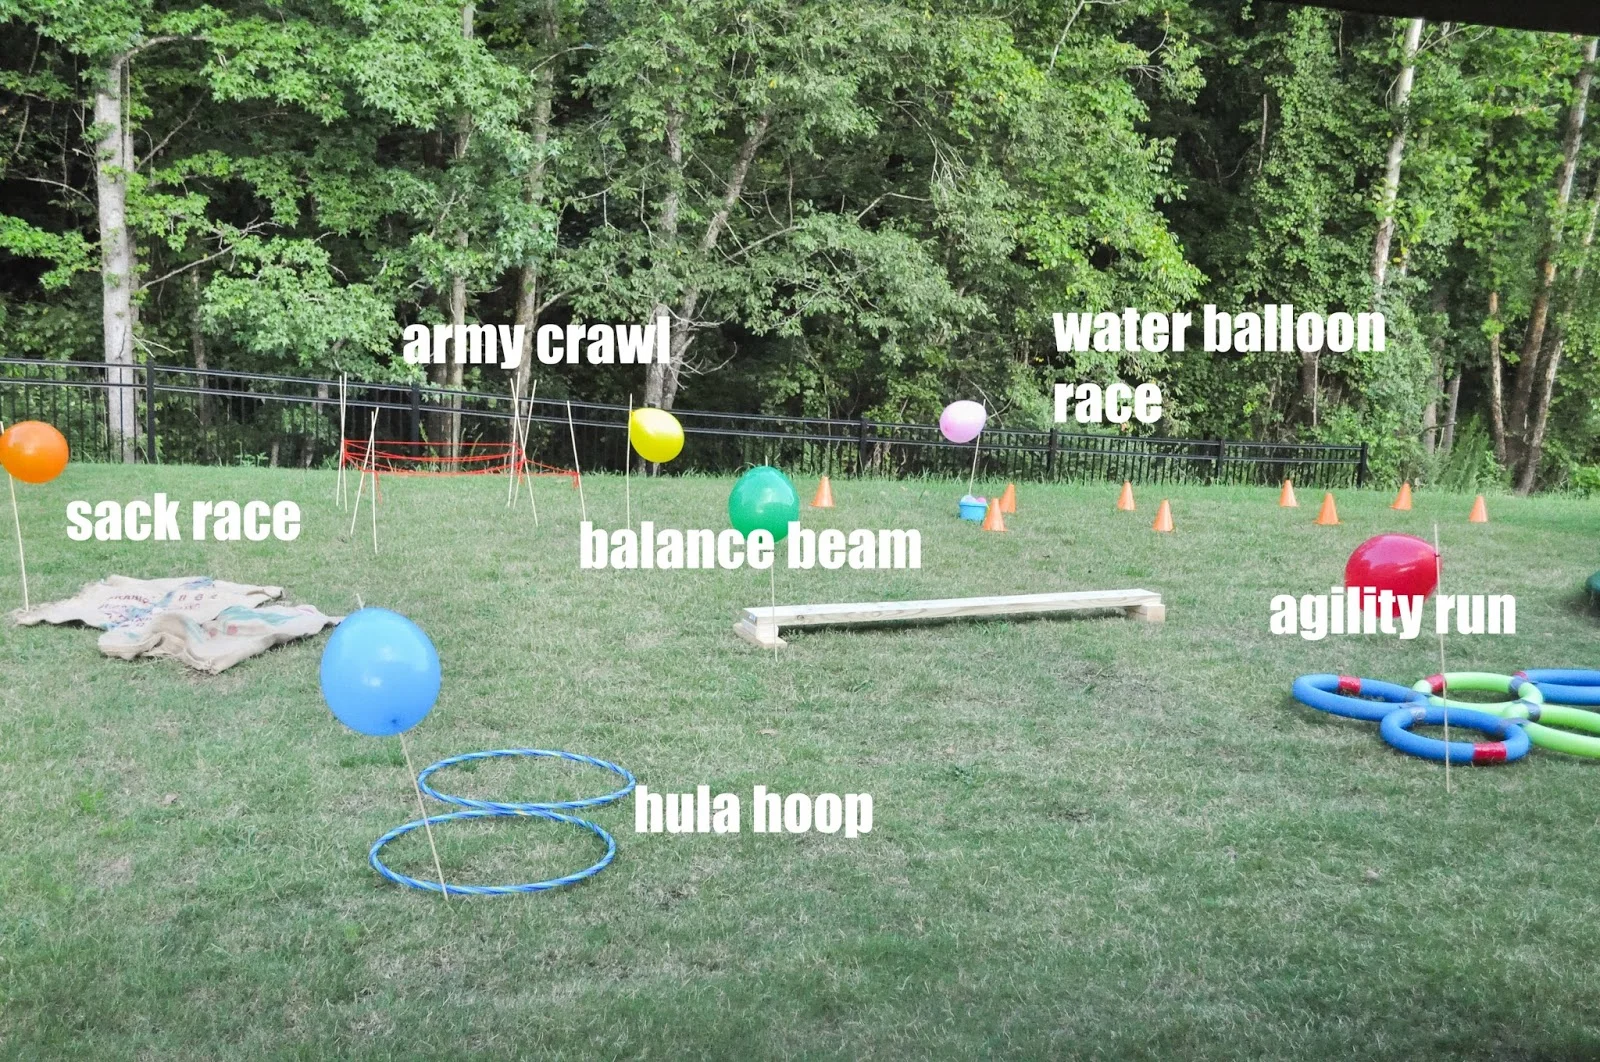
A captivating obstacle course balances different types of challenges to keep participants engaged. Try mixing climbing, crawling, balancing, and agility tasks. For example, you might include a rope climb, a tunnel to crawl through, a balance beam, and a sprint section. Variety prevents boredom and ensures that the course tests different muscle groups and skills.
Think about how each obstacle flows into the next. You want the course to have a rhythm that feels fun and natural, not disjointed. Planning your layout on paper or even sketching it out can help visualize how the pieces come together.
Balancing Difficulty and Accessibility
One of the most important design considerations is making sure the course matches the abilities of your participants. If you’re building it for kids, keep the obstacles challenging but achievable. For a mixed-age group, consider adding optional variations or multiple paths through certain sections.
Too hard, and participants may get frustrated or hurt; too easy, and the course loses its thrill. Striking the right balance encourages everyone to push themselves while maintaining safety and fun.
Gathering Materials and Tools
Budget-Friendly Options
Building an obstacle course doesn’t have to break the bank. Many effective obstacles can be created using affordable materials that you likely already have or can buy inexpensively. Items like ropes, wooden pallets, buckets, tires, and PVC pipes can be used creatively, cutting down costs and adding a homemade charm to your setup.
Investing a little in basic tools such as a hammer, nails, or a cordless drill will also make construction easier and safer. Remember, simple materials often encourage more customization and creativity than expensive, commercial gear.
Sourcing Recyclable and Household Items
Look around your home for items that can be repurposed into obstacles. Old chairs can become hurdles or platforms, blankets can serve as tunnels, and boxes can be stacked for climbing or stepping stones. This approach not only saves money but is environmentally friendly, reducing waste by giving new life to objects destined for the trash.
Local recycling centers or community swap groups can also be treasure troves for free or cheap materials. Keep an eye out for opportunities, and you’ll be surprised at how resourceful you can get with everyday items.
Building Step-by-Step: From Start to Finish
Setting Up Climbing Challenges
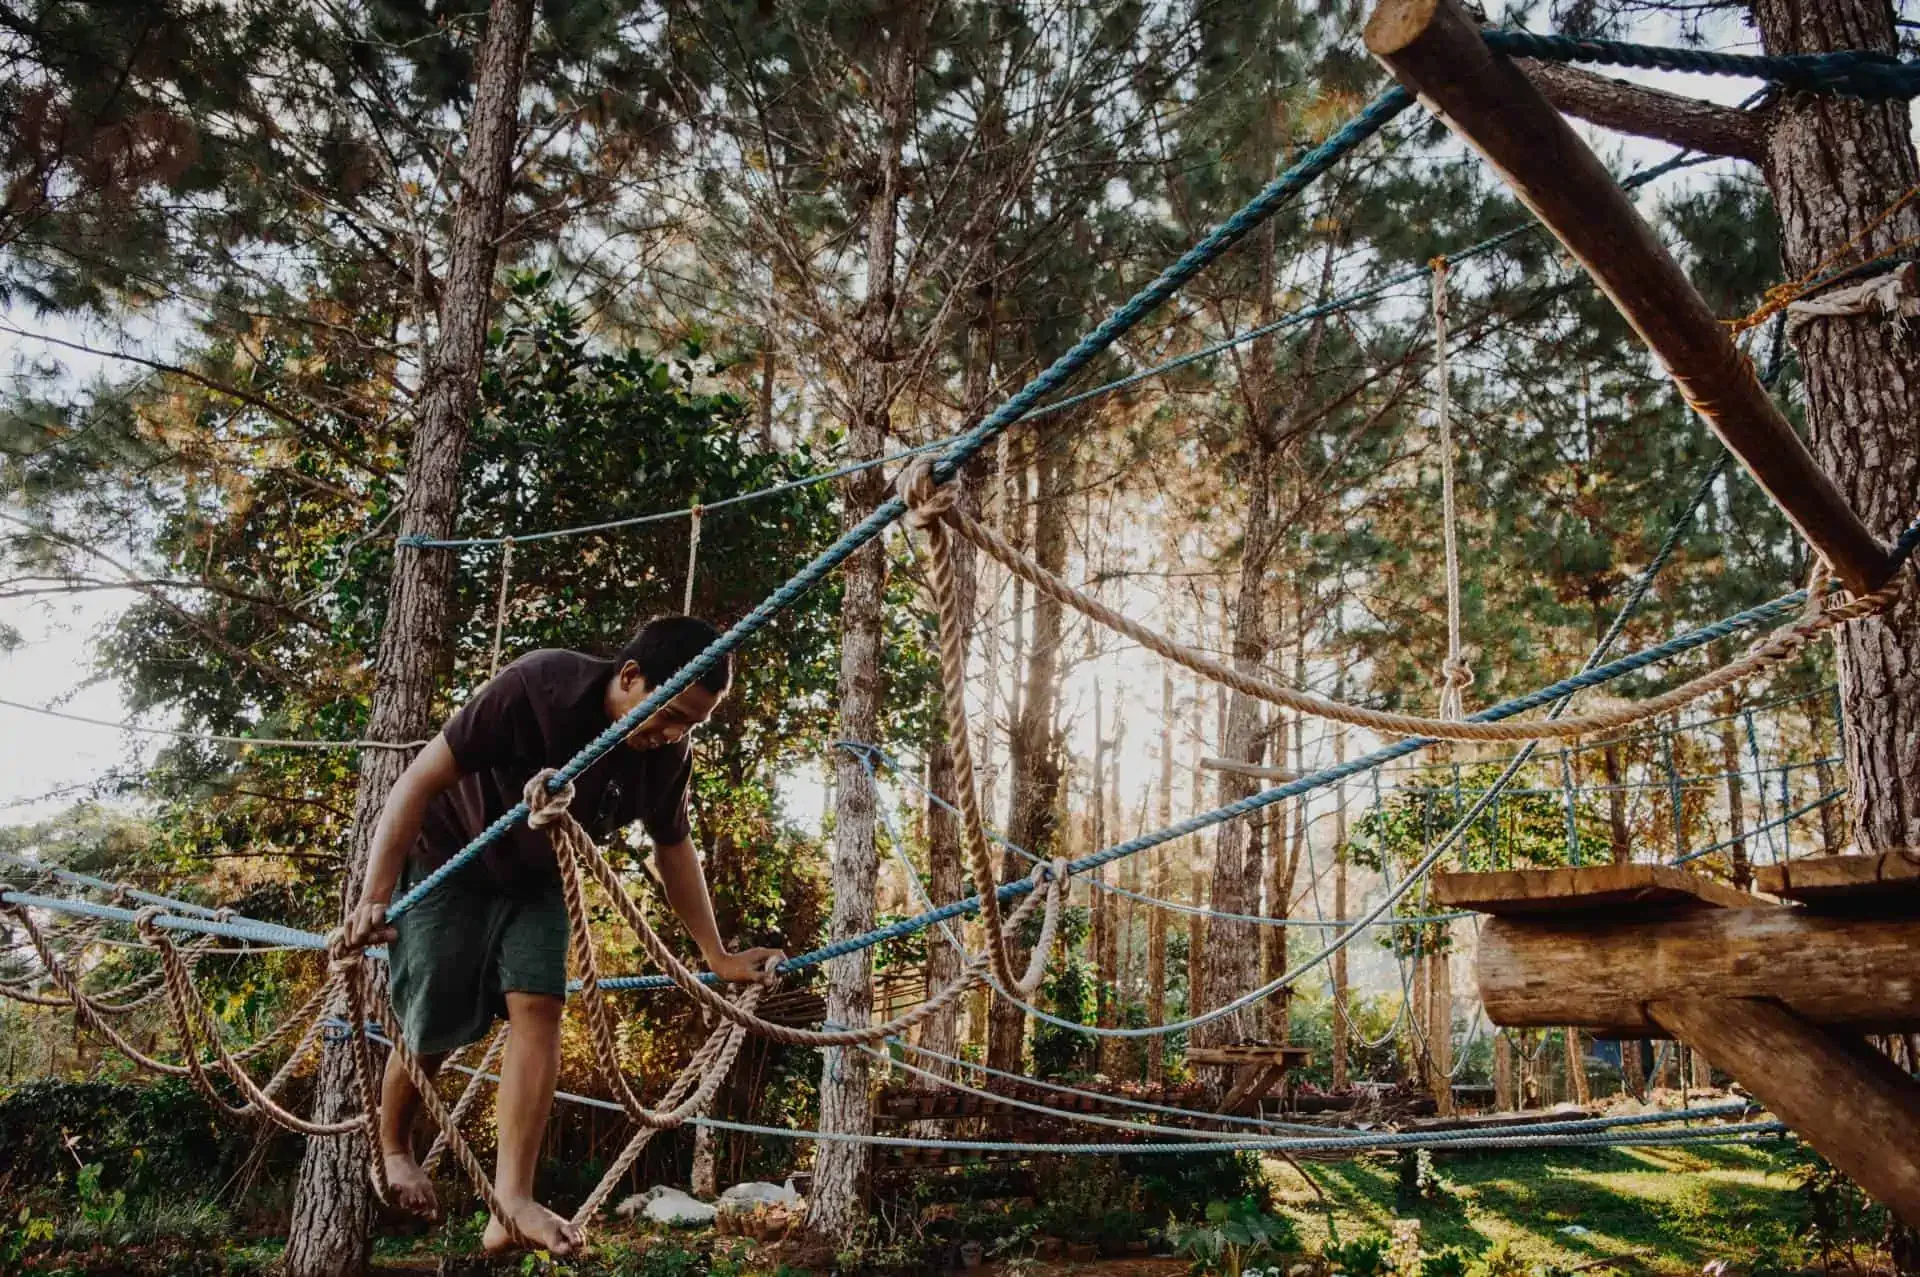
Start with obstacles that require strength and coordination, like climbing walls or rope ladders. Use sturdy wood or pallets to create vertical surfaces, ensuring they’re well-anchored and stable. Attach ropes securely, checking every knot and fastening to avoid accidents. Introduce grips or handholds made from scrap wood or durable materials.
Climbing sections often set the tone for excitement, so take your time to make them safe yet stimulating. Testing each element after construction is necessary to prevent failures during use.
Constructing Balance and Agility Sections
Next, focus on elements that challenge balance and agility. Balance beams can be fashioned from wooden planks or even fallen logs if they’re safe and level. For agility, set up cones, ropes laid out like ladders, or stepping stones made from tires or sturdy boxes.
Spacing is key here — obstacles should encourage light footwork and quick movements without risking trips. Keep these sections close enough to flow smoothly from the climbing parts but distinct enough to require different skills.
Designing Endurance Elements
Wrap up your course with endurance challenges like a sprint section or a long crawl through a tunnel made from cardboard or fabric draped over chairs. These finishing obstacles push participants to use stamina after maneuvering through various physical tasks.
Consider adding flat open space for running or creative additions like tire runs where you step inside each tire to speed up or slow down, depending on your design. The final stretch should be fun and test overall fitness.
Testing and Adjusting the Course
Trial Runs and Safety Checks
Once the course is built, trial runs are essential. Invite family members or friends to test the whole layout and observe how they handle each obstacle. Notice if any parts are too difficult, unsafe, or confusing. Be ready to tweak dimensions, heights, or distances to improve flow and comfort.
Safety checks include re-examining all anchor points, clearing any tripping hazards, and ensuring the surface beneath obstacles is soft enough to cushion falls. Listening to feedback and making adjustments will ensure your obstacle course is both challenging and enjoyable.
Hosting Your Obstacle Course Challenge
Inviting Participants and Setting Rules
When you’re ready to launch the challenge, invite participants with clear details about the event. Set simple rules that everyone can follow to keep the competition friendly and fair. Explain the course layout, safety tips, and any time limits or scoring systems you plan to use.
Encourage warm-ups and emphasize that the goal is to have fun and stay safe. A spirited but respectful atmosphere makes the event memorable and welcoming for all ages and skill levels.
Keeping Score and Encouraging Fair Play
Decide how you want to score the event, whether by fastest completion time, fewest mistakes, or creative performance. Keep the system straightforward to avoid confusion and disputes. Most importantly, promote sportsmanship—celebrate effort and improvement as much as winning.
Cheering on participants and fostering encouragement throughout the challenge makes the experience richer and motivates everyone to return for future obstacle courses.
Maintenance Tips for Longevity and Safety
To keep your backyard obstacle course functional and safe over time, regular maintenance is key. After each use, inspect for worn-out ropes, loose nails, or broken wood. Clean debris off balance beams and tidy up the area to prevent hazards from developing.
Storing smaller components indoors or covering larger structures during bad weather will help preserve materials. Periodically reassess the course as your participants grow or if you want to keep the challenge fresh by adding new obstacles or modifying existing ones.
With a little upkeep, your DIY obstacle course can provide endless fun and fitness for seasons to come.


